Here is quick tutorial about Alpha layer for jerseys.
Alpha layer can be make by four colors:
Black - does nothing, is great for collar, trims and stitches or for a full jersey if you don't want to have 2k mesh.

IMPORTANT NOTE: If you want to use all black alpha you need to add at least 1px of other color in non vivisible area.
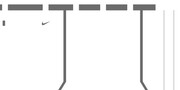
White - gives a shining effect, good for logos or to make faux satin effect.
Light grey (#BBBBBB) - adds mesh effect.

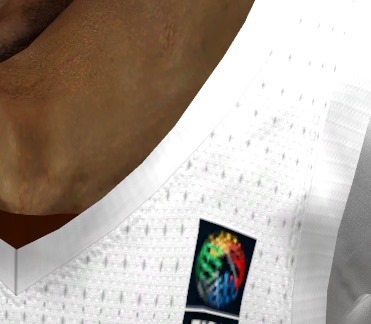
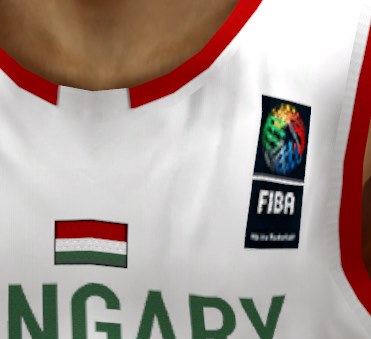
Dark grey (#6B6B6B) - matte finish, good for heat pressed logos and stripes.
You can spot it on logos from examples from above.
How to create alpha layer
1. Create new layer.
2. Fill it with main color that you want to use
3. If you want to make effects, copy layers with logos and recolor them with proper colors.
4. Group all alpha layers.
5. In channels section past your alpha into alpha place.
6. Save your dds file as a dxt5 Interpolated alpha.
I hope this helps you to do alpha layers correct for your stuff.
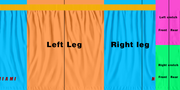
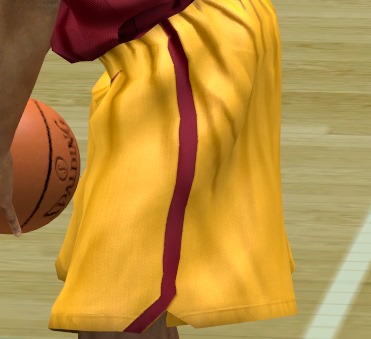
P.S: Little bonus, map of shorts: